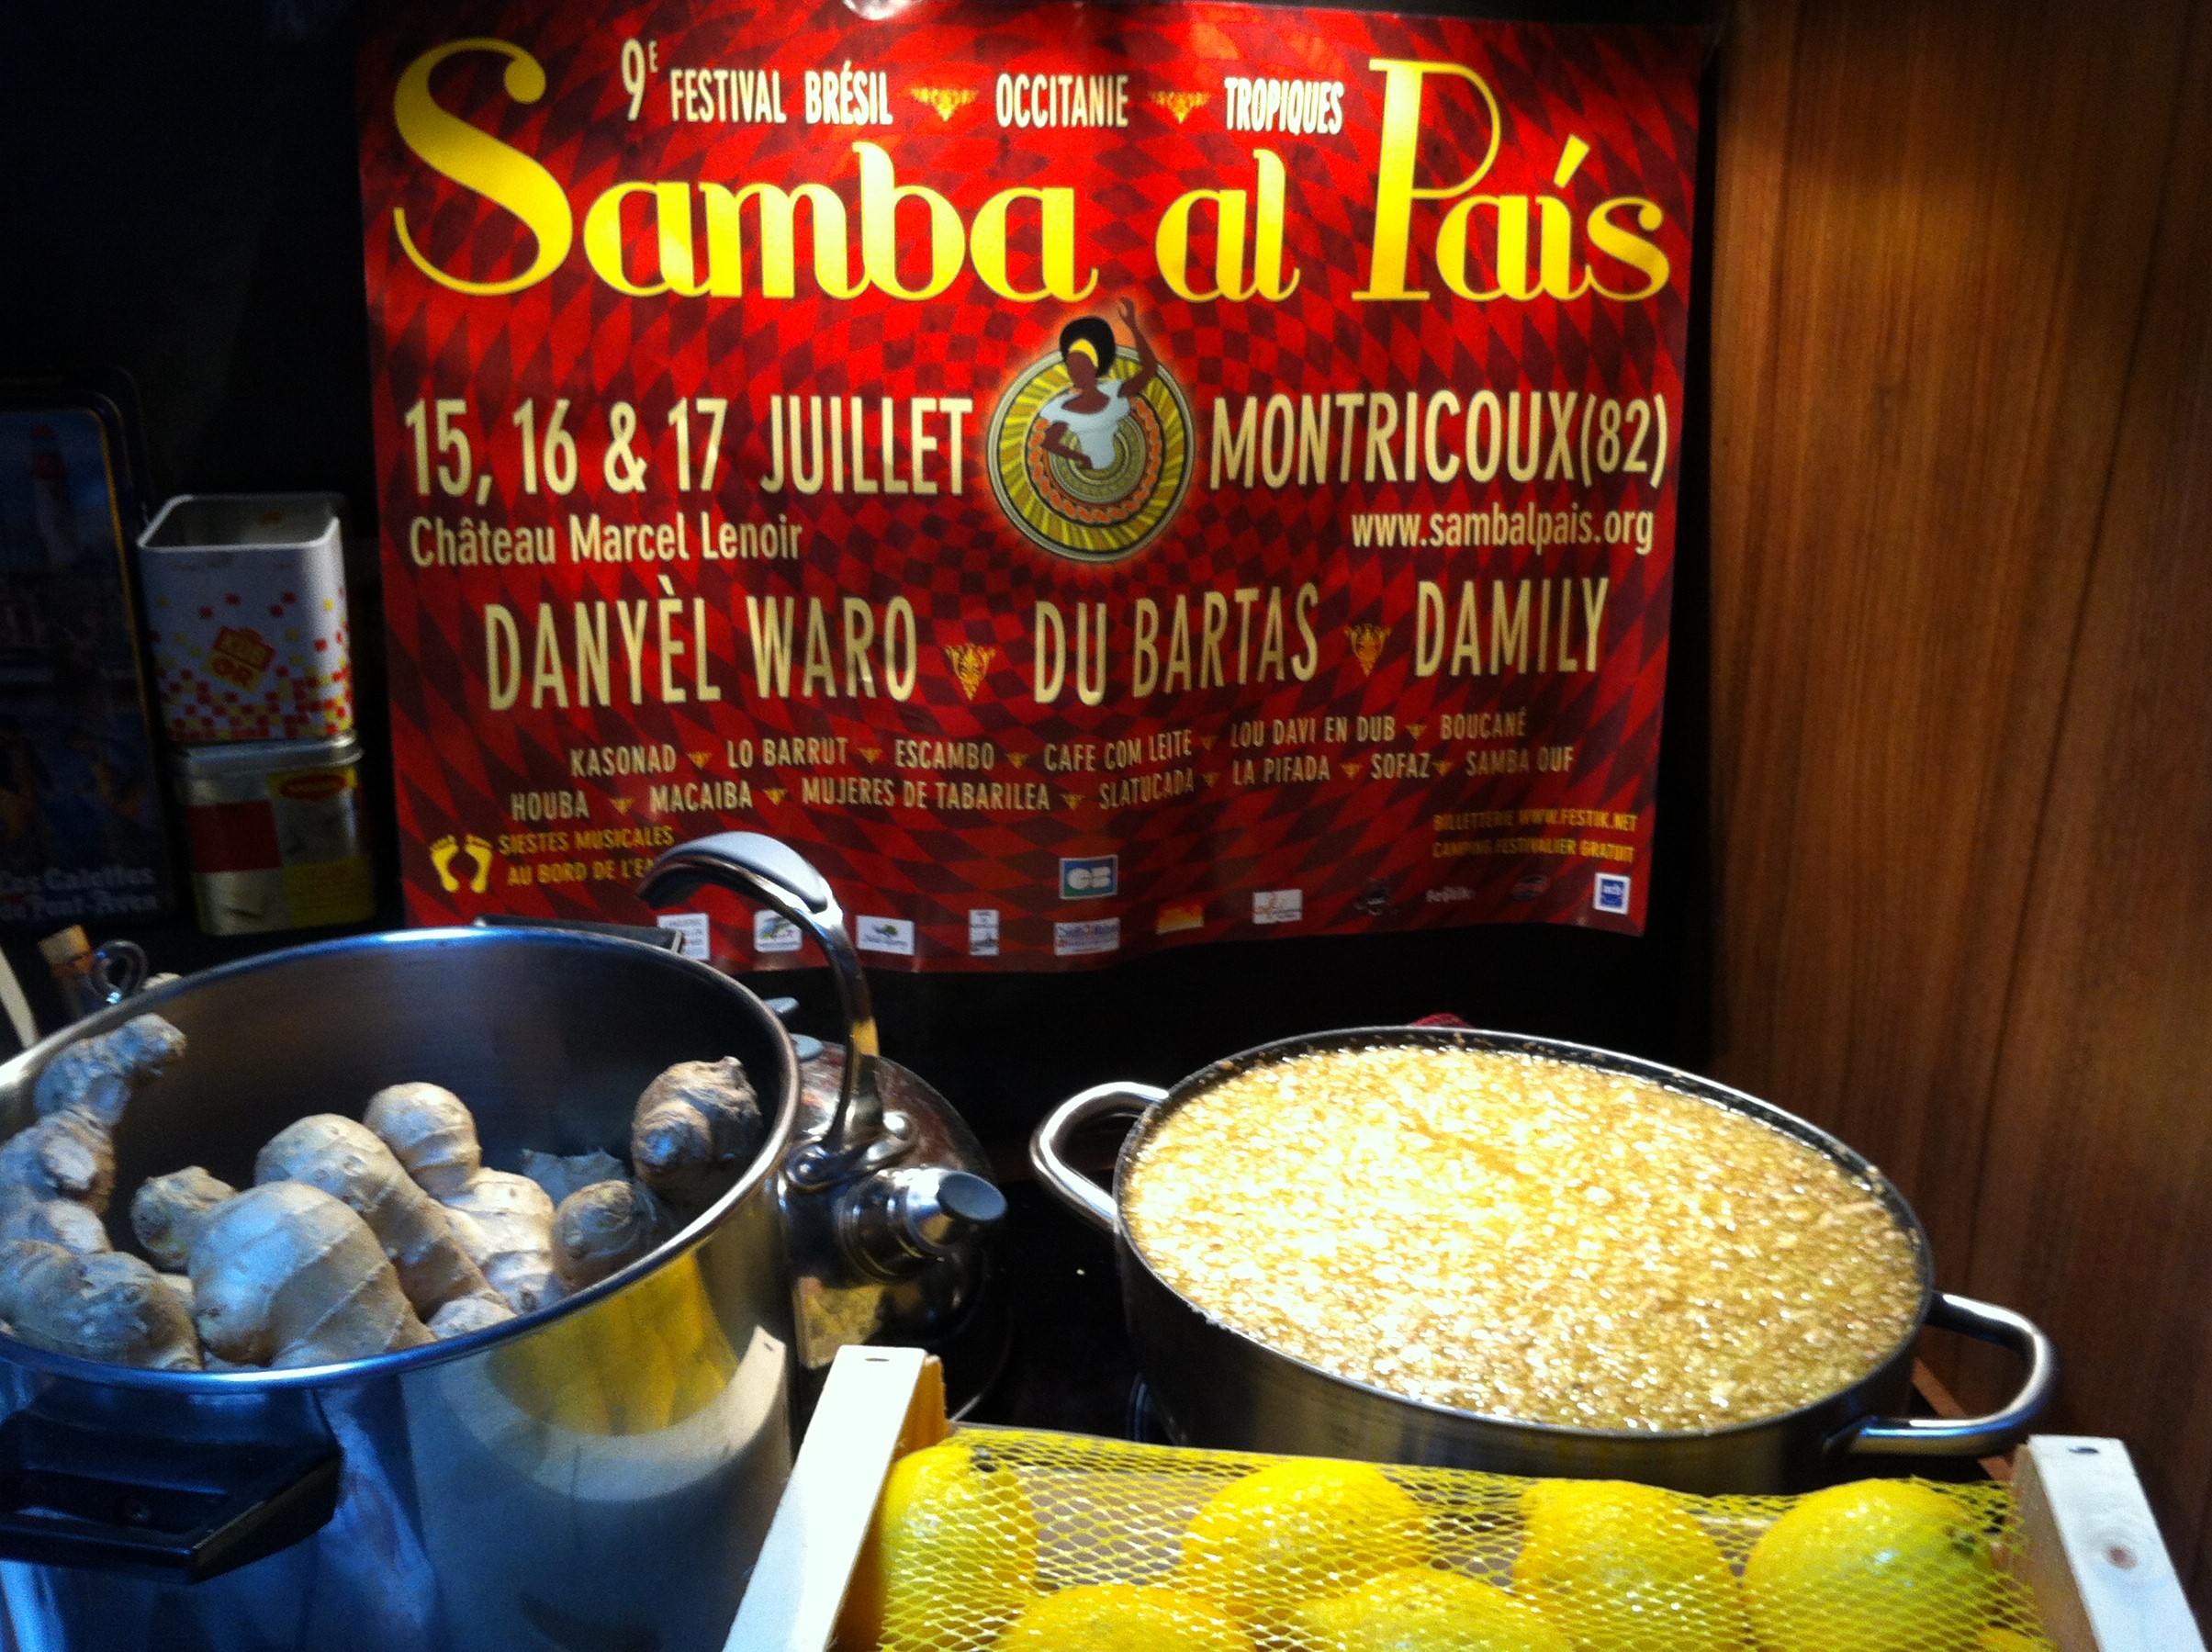
I started experimenting with making ginger beer while I was volunteering in the organisation of the festival Samba Al Pais… a long time ago! As it’s a world music festival I wanted to buy a fresh and energising drink to sell at the bar. Unfortunately, ginger beer was not that easy to buy in France back then. So, I started making my own. We had a lot of meetings all year long to organise the festival, and I was always making some fresh batches for everyone to try. Ultimately, I was making 8 times 25L of ginger beer to be sold at that festival and it was a lot of fun, and everyone loved that fresh, sparkling, spicy natural drink. It is the perfect drink for summer if you want to change from the usual Kefir or Kombucha. It is very cheap and very easy to make from scratch.
J’ai commencé à expérimenter la fabrication de bière de gingembre lorsque j’étais bénévole dans l’organisation du festival Samba Al Pais… il y a longtemps ! Comme c’est un festival de musique du monde, je voulais acheter une boisson fraîche et énergisante pour la vendre au bar. Malheureusement, la bière de gingembre n’était pas si facile à acheter en France à l’époque. J’ai donc commencé à en faire moi-même. Nous avons eu beaucoup de réunions tout au long de l’année pour organiser le festival, et je faisais toujours des fournées fraîches pour que tout le monde puisse essayer. Finalement, j’ai fabriqué 8 fois 25 litres de bière de gingembre pour les vendre à ce festival. C’était très amusant et tout le monde aimait cette boisson naturelle, fraîche, pétillante et épicée. C’est la boisson parfaite pour l’été si vous voulez changer du kéfir ou du kumbucha habituels. Elle est très bon marché et très facile à faire à partir de zéro.

I started experimenting with making ginger beer while I was volunteering in the organisation of the festival Samba Al Pais… a long time ago! As it’s a world music festival I wanted to buy a fresh and energising drink to sell at the bar. Unfortunately ginger beer was not that easy to buy in France back then. So I started making my own. We had a lot of meetings all year long to organise the festival, and I was always making some fresh batches for everyone to try. Ultimately I was making 8 times 25L of ginger beer to be sold at that festival and it was a lot of fun and everyone loved that fresh, sparkling, spicy natural drink. It is the perfect drink for summer if you want to change from the usual Kefir or Kumbucha. It is very cheap and very easy to make from scratch.
There are many methods, but those two are easy when you want to make a batch once in a while. You just need to anticipate it as it is a fermented drink. I would recommend making it 3 to 5 days before the day you want to drink it.
Method 1 : raw ginger beer
Pro: it’s raw, you will get the maximised benefits from the ginger, you can make it very easily in 5minutes.
Con: it can get a little messy, ok for small batches.
What do you need ?
- 70g of ginger
- 120g of sugar
- 1g of baker’s dry yeast
- 1 lemon juiced (or 30g juice)
- 1L of water
Method
- Grate or blend the ginger, add all ingredients together in a plastic bottle of 1.5L. Shake it hard.
- Close the lid and leave it at room temperature for 48 to 72h. More in winter, less in summer.
- Check the fermentation by pressing the bottle, if really hard and bubbly, it’s ready. If not, leave it longer
- Open slowly, it’s explosive!
- Sieve the ginger beer into another bottle, close the lid and keep in the fridge for up to 1week, degassing it once a day.
- Start drinking as soon as it’s really cold.
Method 2 : ginger beer made from ginger syrup
Pro: the best method for big batches, keeps longer
Con: take a little longer to make
Ingredients ginger syrup
- 30g of ginger
- 100g of sugar
- 200ml water
Method
- Mix all ingredients in a saucepan and bring it to the boil until the sugar has dissolved (about 5min). Close the lid and let it cool down and infuse for about 1h.
- Then sieve the syrup.
Ingredients to add to the ginger syrup
- 1g of baker’s dry yeast
- 1 lemon juiced (or 30g juice)
- 1L of water
Method
- Pour syrup into a 1.5L plastic bottle, add the juiced lemon, yeast and water. Shake it.
- Close the lid and leave it at room temperature for 48h to 72h. More in winter, less in summer.
- Check the fermentation by pressing the bottle, if really hard and bubbly, it’s ready. If not, leave it longer. Keep in the fridge for up to 1weeks, degassing it once a day.
My tips
- Safety: always open the bottle carefully because it can explode. The reason why I recommend plastic bottles (upcycled preferably) is that the plastic will slightly expand and there is a reduced risk of explosion.
- For more originality: you can add some whole spices or fruits to the bottle and vary the sugar type: cloves, peppercorns, cinnamon, vanilla, cardamon, dry fruits, lime, chili, zests, etc.
- If you want more alcohol and less sugar: leave it at room temperature longer. You also increase the risk of bad bacteria developpement so be careful about using very clean utensils and buckets/ bottles.
- For large batches: use brewer’s buckets with an air extraction system to avoid explosions. I recommend the cooked method as it is easier to sieve a small amount of syrup than a large amount of ginger beer.
J’ai commencé à expérimenter la fabrication de bière de gingembre lorsque j’étais bénévole dans l’organisation du festival Samba Al Pais… il y a longtemps ! Comme c’est un festival de musique du monde, je voulais acheter une boisson fraîche et énergisante pour la vendre au bar. Malheureusement, la bière de gingembre n’était pas si facile à acheter en France à l’époque. J’ai donc commencé à en faire moi-même. Nous avons eu beaucoup de réunions tout au long de l’année pour organiser le festival, et je faisais toujours des fournées fraîches pour que tout le monde puisse essayer. Finalement, j’ai fabriqué 8 fois 25 litres de bière de gingembre pour les vendre à ce festival. C’était très amusant et tout le monde aimait cette boisson naturelle, fraîche, pétillante et épicée. C’est la boisson parfaite pour l’été si vous voulez changer du kéfir ou du kumbucha habituels. Elle est très bon marché et très facile à faire à partir de zéro.
Il existe de nombreuses méthodes, mais ces deux-là sont faciles quand on veut faire une fournée de temps en temps. Il suffit de l’anticiper car c’est une boisson fermentée. Je vous conseille de la préparer 3 à 5 jours avant le jour où vous voulez la boire.
Méthode 1 : bière de gingembre crue
Avantages : le gingembre n’est pas chauffé, vous profiterez au maximum de ses bienfaits, vous pouvez la préparer très facilement en 5 minutes.
Inconvénient : cela peut être un peu compliqué a filtrer, mais ok pour les petites quantités.
De quoi j’ai besoin ?
- 70g de gingembre
- 120g de sucre
- 1g de levure sèche de boulanger
- 1 jus de citron (environ 30g)
- 1L d’eau
Préparation
- Râper ou mixer le gingembre, ajouter tous les ingrédients ensemble dans une bouteille en plastique de 1,5L. Secouez-la fortement.
- Fermez le couvercle et laissez-le refroidir à température ambiante pendant environ 48h à 72h. Plus en hiver, moins en été.
- Vérifiez la fermentation en appuyant sur la bouteille, si elle est vraiment dure et pétillante, c’est prêt. Sinon, laissez-la reposer plus longtemps. Ouvrez doucement, c’est explosif! Filtrez la bière de gingembre dans une autre bouteille, fermez le couvercle et conservez-la au réfrigérateur pendant une semaine maximum, en la dégazant une fois par jour.
Méthode 2 : bière de gingembre à base de sirop de gingembre
Pour: la meilleure méthode pour les grandes quantités, se conserve plus longtemps.
Contre: un peu plus long à préparer
Ingrédients sirop de gingembre
- 30g de gingembre
- 100 g de sucre
- 200ml d’eau
Préparation
- Mélangez tous les ingrédients dans une casserole et portez à ébullition jusqu’à ce que le sucre soit dissous (environ 5 minutes). Fermez le couvercle et laissez refroidir et infuser pendant environ 1h.
- Puis passez le sirop au tamis.
Ingredients à ajouter au sirop de gingembre
- 1g de levure sèche de boulangerie.
- 1 jus de citron (ou 30g)
- 1L d’eau
Préparation
- Versez le sirop dans une bouteille en plastique de 1,5L, ajoutez le jus de citron, la levure et l’eau. Secouez le tout.
- Fermez le couvercle et laissez-le à température ambiante pendant environ 48 à 72h. Plus en hiver, moins en été.
- Vérifiez la fermentation en appuyant sur la bouteille, si elle est vraiment dure et bouillonnante, c’est prêt. Sinon, laissez-le plus longtemps. Conserver au réfrigérateur jusqu’à 1 semaine, en le dégazant une fois par jour.
Mes conseils
- Sécurité: ouvrez toujours la bouteille avec précaution car elle peut exploser. La raison pour laquelle je recommande une bouteille en plastique (recyclée de préférence) est que le plastique se dilate légèrement et que le risque d’explosion est réduit.
- Pour plus d’originalité: vous pouvez ajouter des épices ou des fruits entiers dans la bouteille et varier le type de sucre: clous de girofle, poivre, cannelle, vanille, cardamome, fruits secs, citron vert, piment, zestes, etc.
- Si vous voulez plus d’alcool et moins de sucre: laissez-le à température ambiante plus longtemps. Vous augmentez également le risque de développement de mauvaises bactéries, alors faites attention à utiliser des ustensiles et des seaux/bouteilles très propres.
- Pour les grandes quantités: utilisez des seaux de brassage avec un système d’extraction d’air pour éviter les explosions. Je recommande la méthode avec sirop car il est plus facile de tamiser une petite quantité de sirop qu’une grande quantité de bière au gingembre explosive.