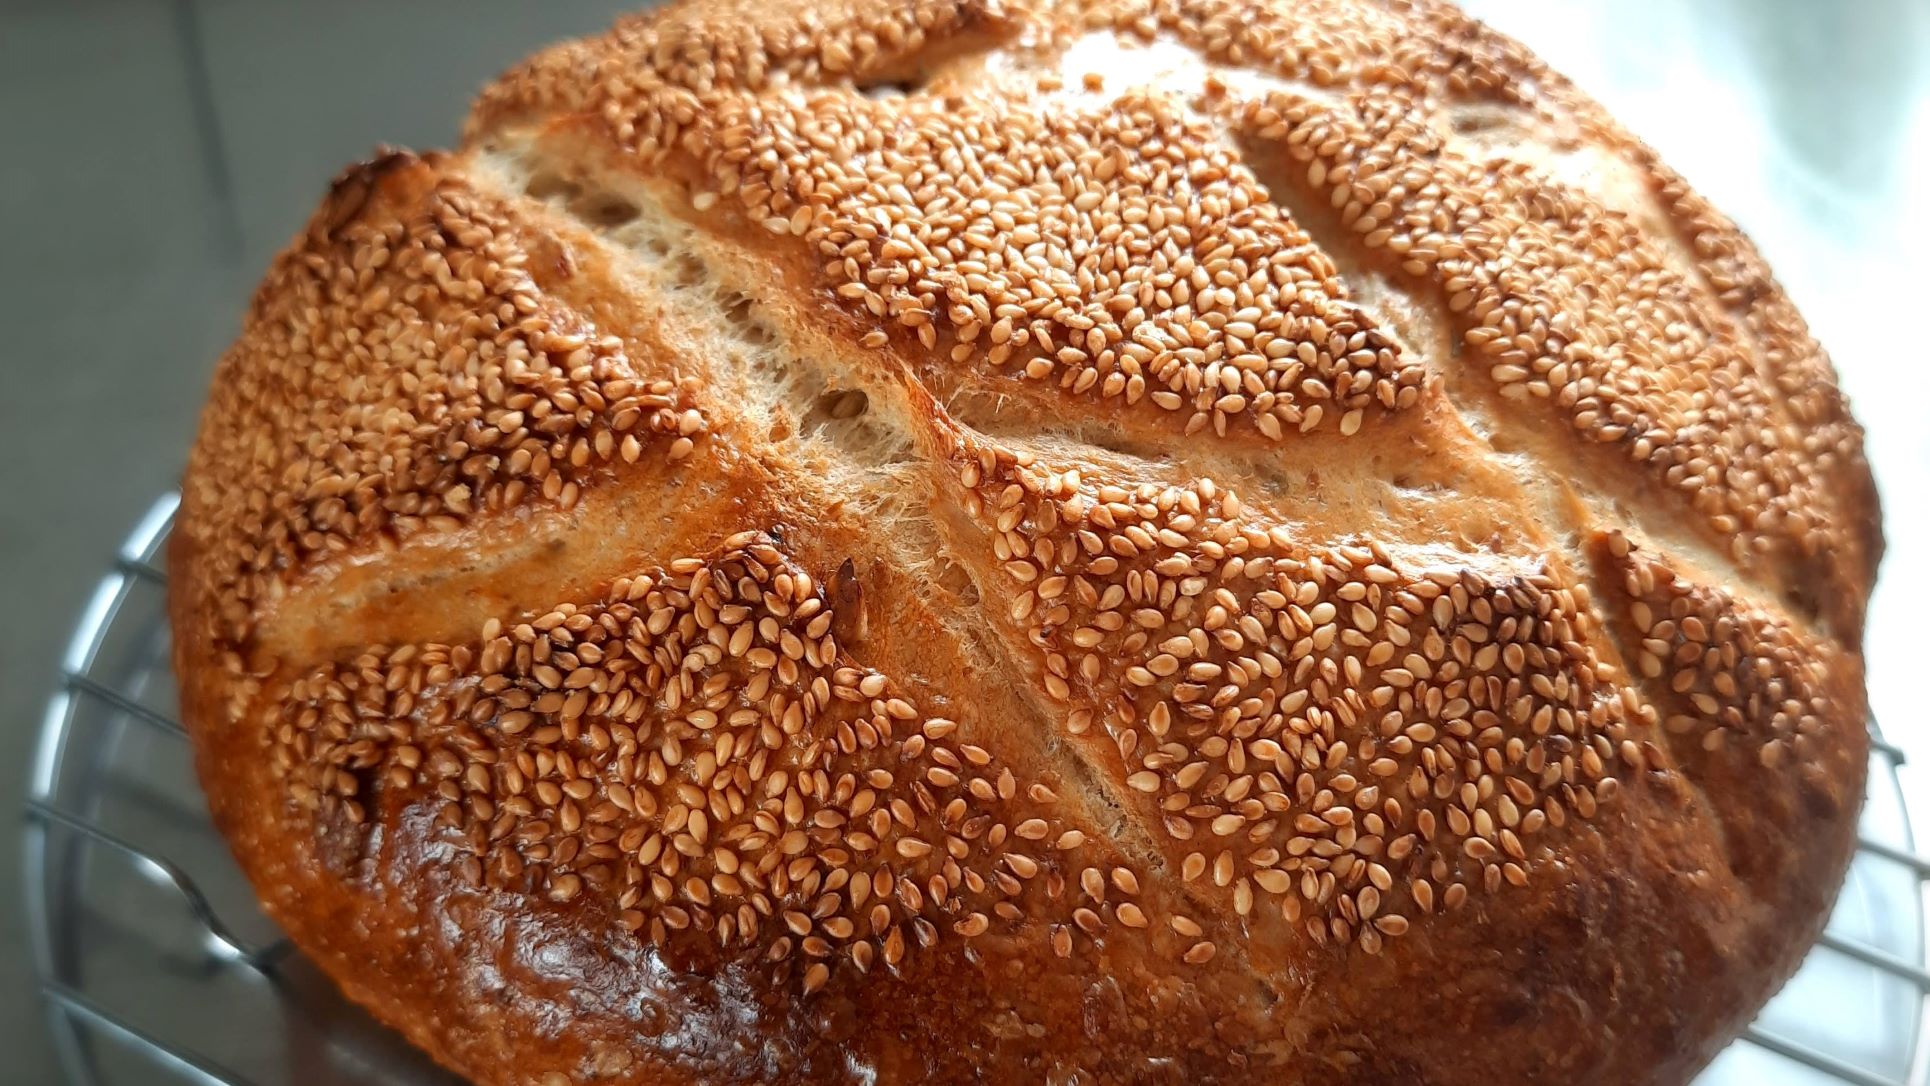
Sourdough bread is not really hard but it requires a lot of anticipation. That’s the only thing you need to get used to…the first step happens about 24h before the baking! Are you ready to know all my secrets ???
There are many ways of making sourdough bread and a thousand posts and videos on the internet. That’s an easy technique that I developed thanks to my knowledge from working in a sourdough bakery for a year and that my laziness forced me to simplify so I actually keep baking whatever conditions and circumstances I am into.
For example I did bake some sourdough bread without measuring cups or scale, with sea water, and negotiating with the sun to use the solar powered oven.
I will consider that you already have a starter, if not you can get some from a friend, a sourdough bakery or even make your own in 5days with only water and flour as explained in that post.
I recommend using white “bread flour” or “high grade flour” in NZ, “T65” in France. Using high quality organic flour can change the result considerably! You can obviously experiment with many different types of flour (rye, spelt, buckwheat, rice …), this is my base recipe.
- Feed your starter
- Mix ingredients
- Fold & start fermentation
- Choose your shaping option
- Leave it relax
- Slow fermentation in the fridge
- Bring the dough back to room temperature
- Bake
- Conclusion (timeline example)
1. Feed your starter 6 to 10hours before making bread dough
To make bread or anything using a starter, we need an active starter!
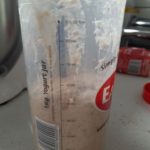
You want to start with about 50g of starter and feed with 75g of water+75g of flour (half white, half wholemeal). It’s approximate but keep in mind that you don’t need to grow a huge starter unless you plan on baking more than one bread.
Once you have fed the starter, leave it at room temperature for about 6 to 10 hours until it has doubled in volume and is very bubbly (the warmer is your house, the faster it will go)

2. Mix ingredients
- 150g of active starter
- 330g of water around 25°C (quantity to be adjusted)
- 450 g white flour
- 50g wholemeal flour
- 10g of salt
You can add seeds, dry fruits, spices, herbs at your convenience.
You may have to add a bit more water to get a nice wet and sticky consistency but not too runny (it always varies, depending on the flour type, humidity, temperature, etc.)
I usually mix water + starter, then add the rest and mix with a wood spatula because it’s very sticky ! (mix until no more dry flour visible)
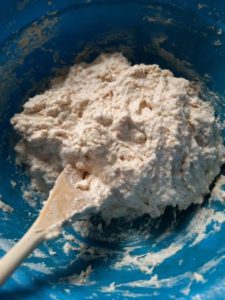
When you get that kind of texture, cover your bowl with any type of lid, glad wrap or bee wrap and leave it to rest at room temperature for about 30min.
3. Fold & start fermentation at room temperature
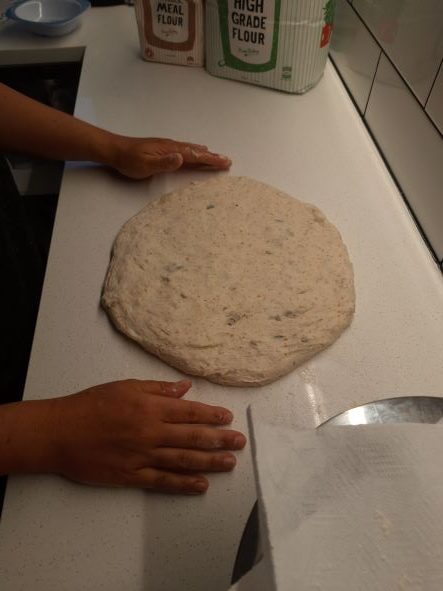
To give some texture to the dough I recommend to give it a good fold with wet hands, you can fold it on a dusted bench, or directly in the bowl try to expand and fold 4 times, then arrange it as a nice ball and put it back into the bowl. If you are around you can fold up to 3times every 30-45min. If you are not around it’s fine 1 fold will do.

Cover and leave it at room temperature for about 4h. Less if it’s very hot, more if it’s very cold 😉 the dough is gonna expand and you may see some bubbles as well.
4. Choose your shaping option
A. Shape your bread into a proofing basket
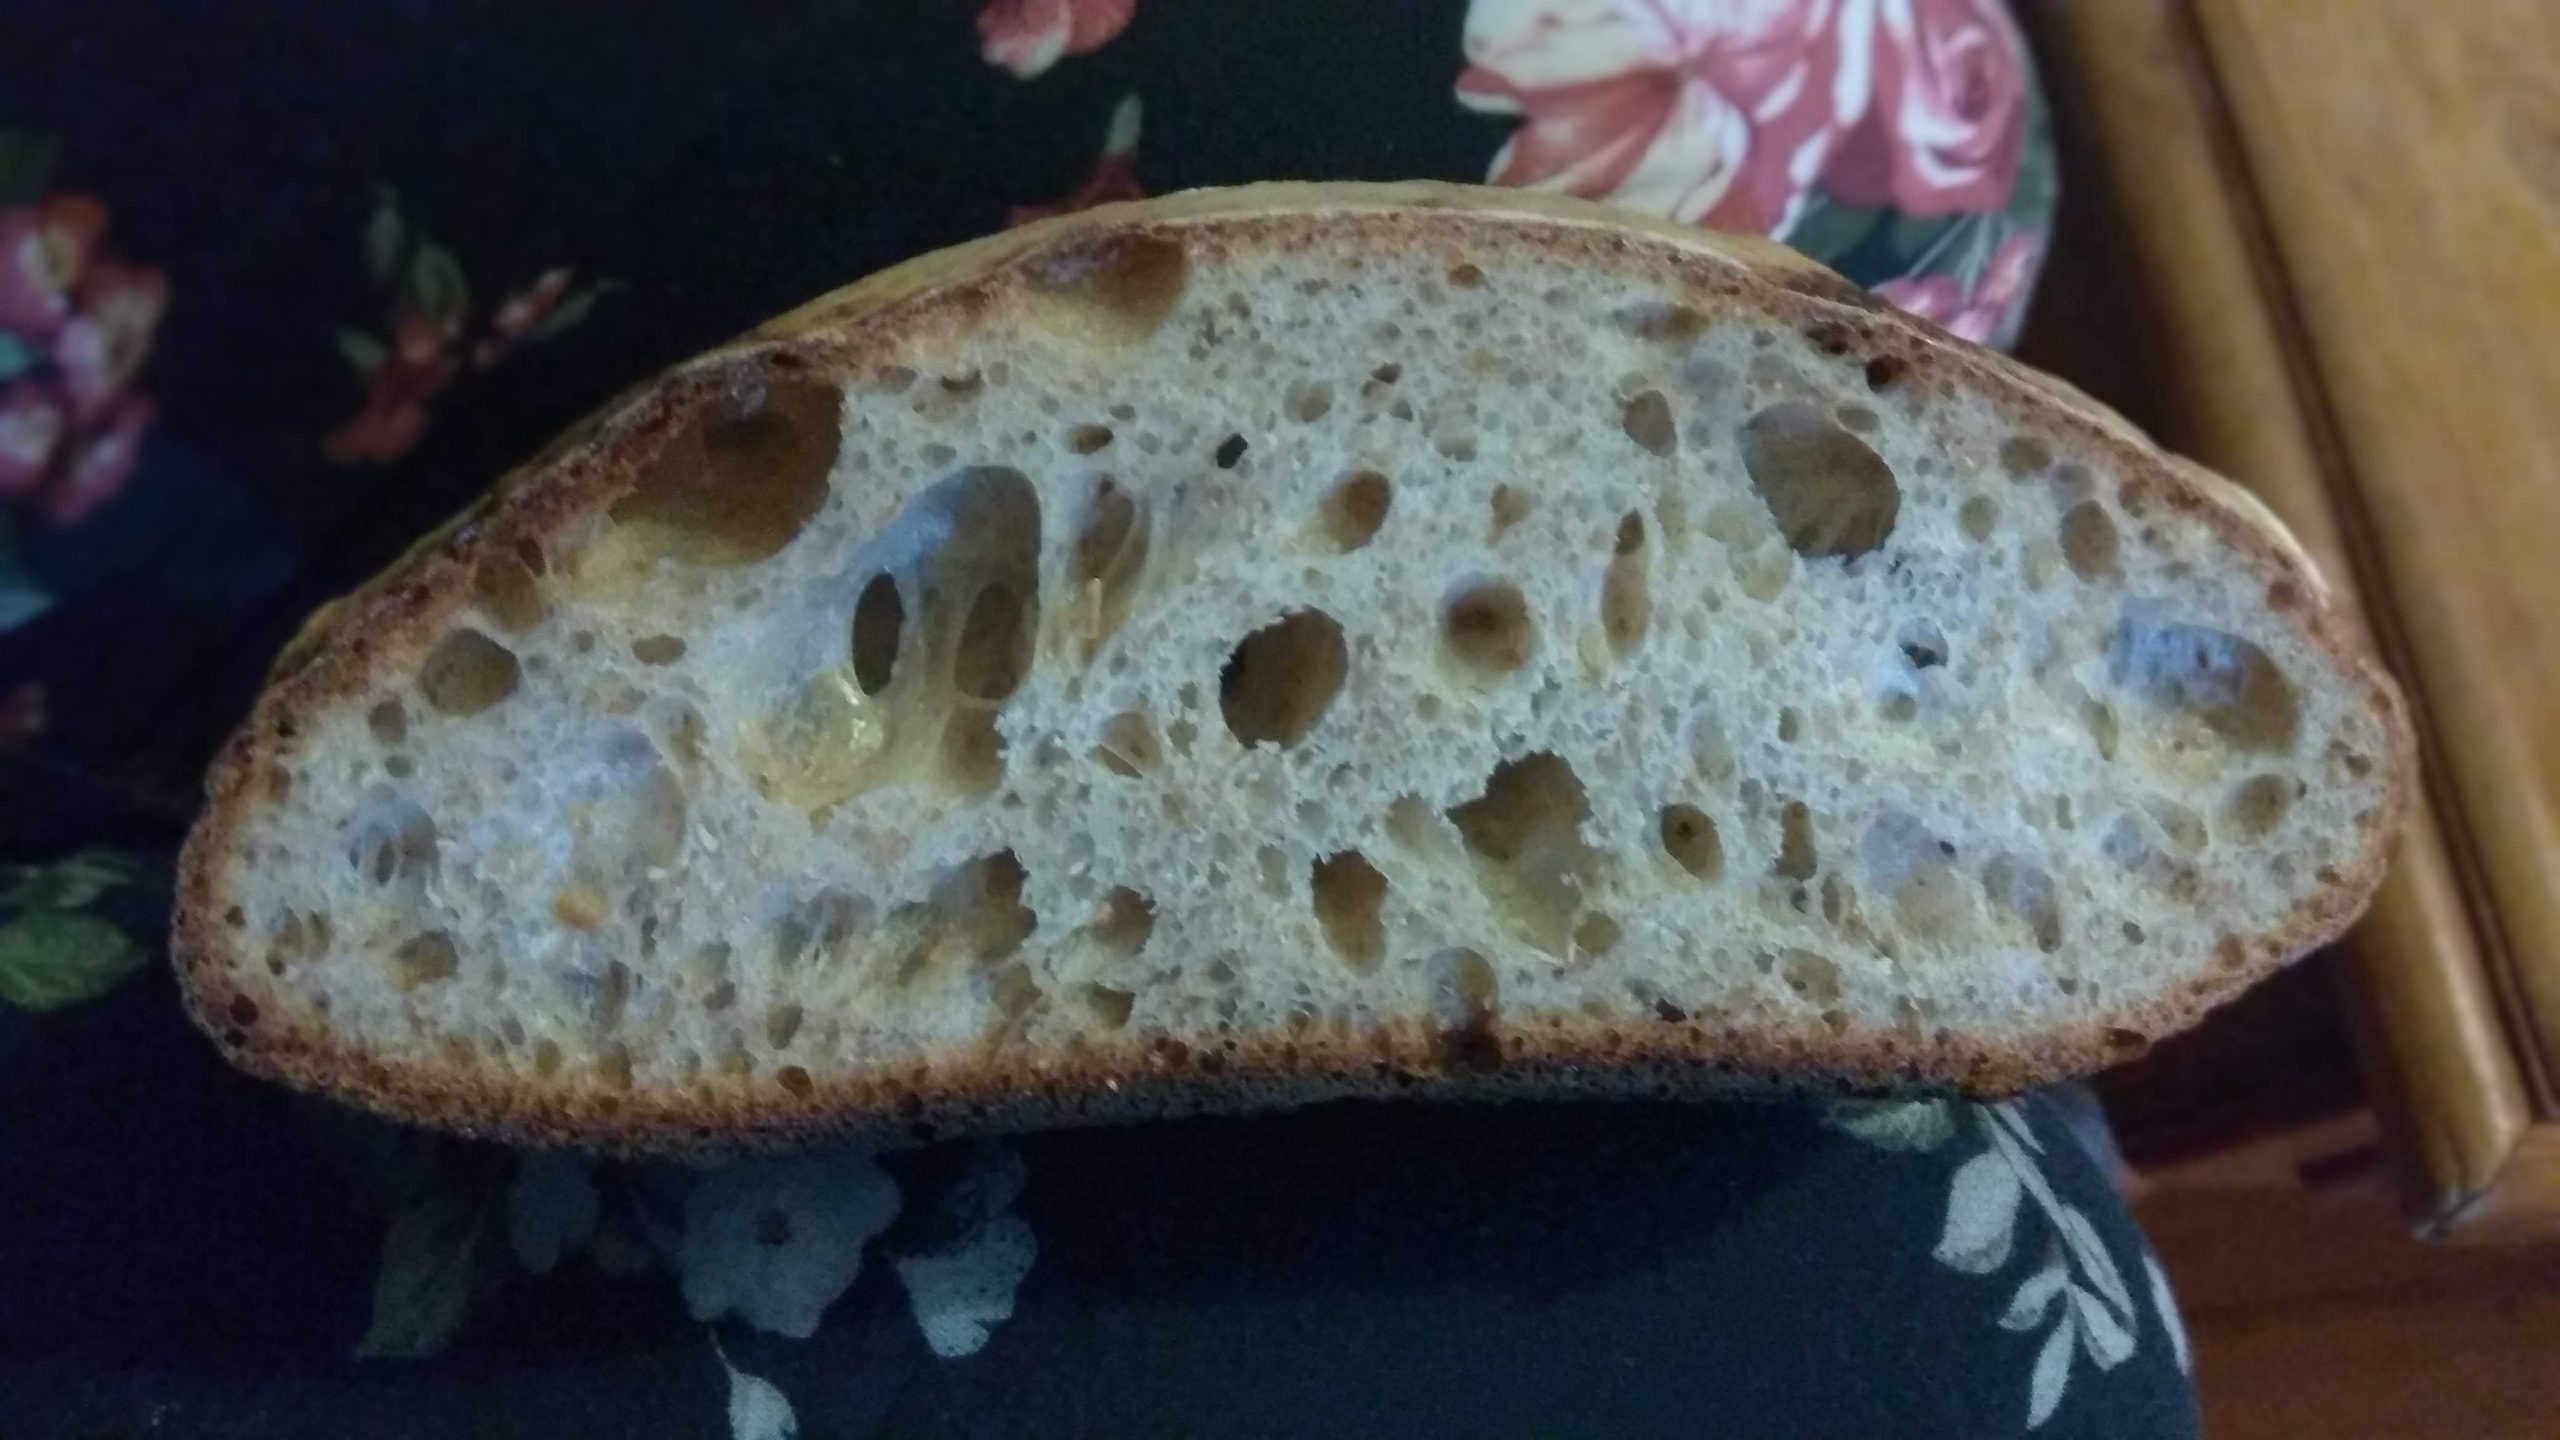
ideal for round (boule) or oval (batard) shapes , for a very crusty airy result with nice holes in your bread slices
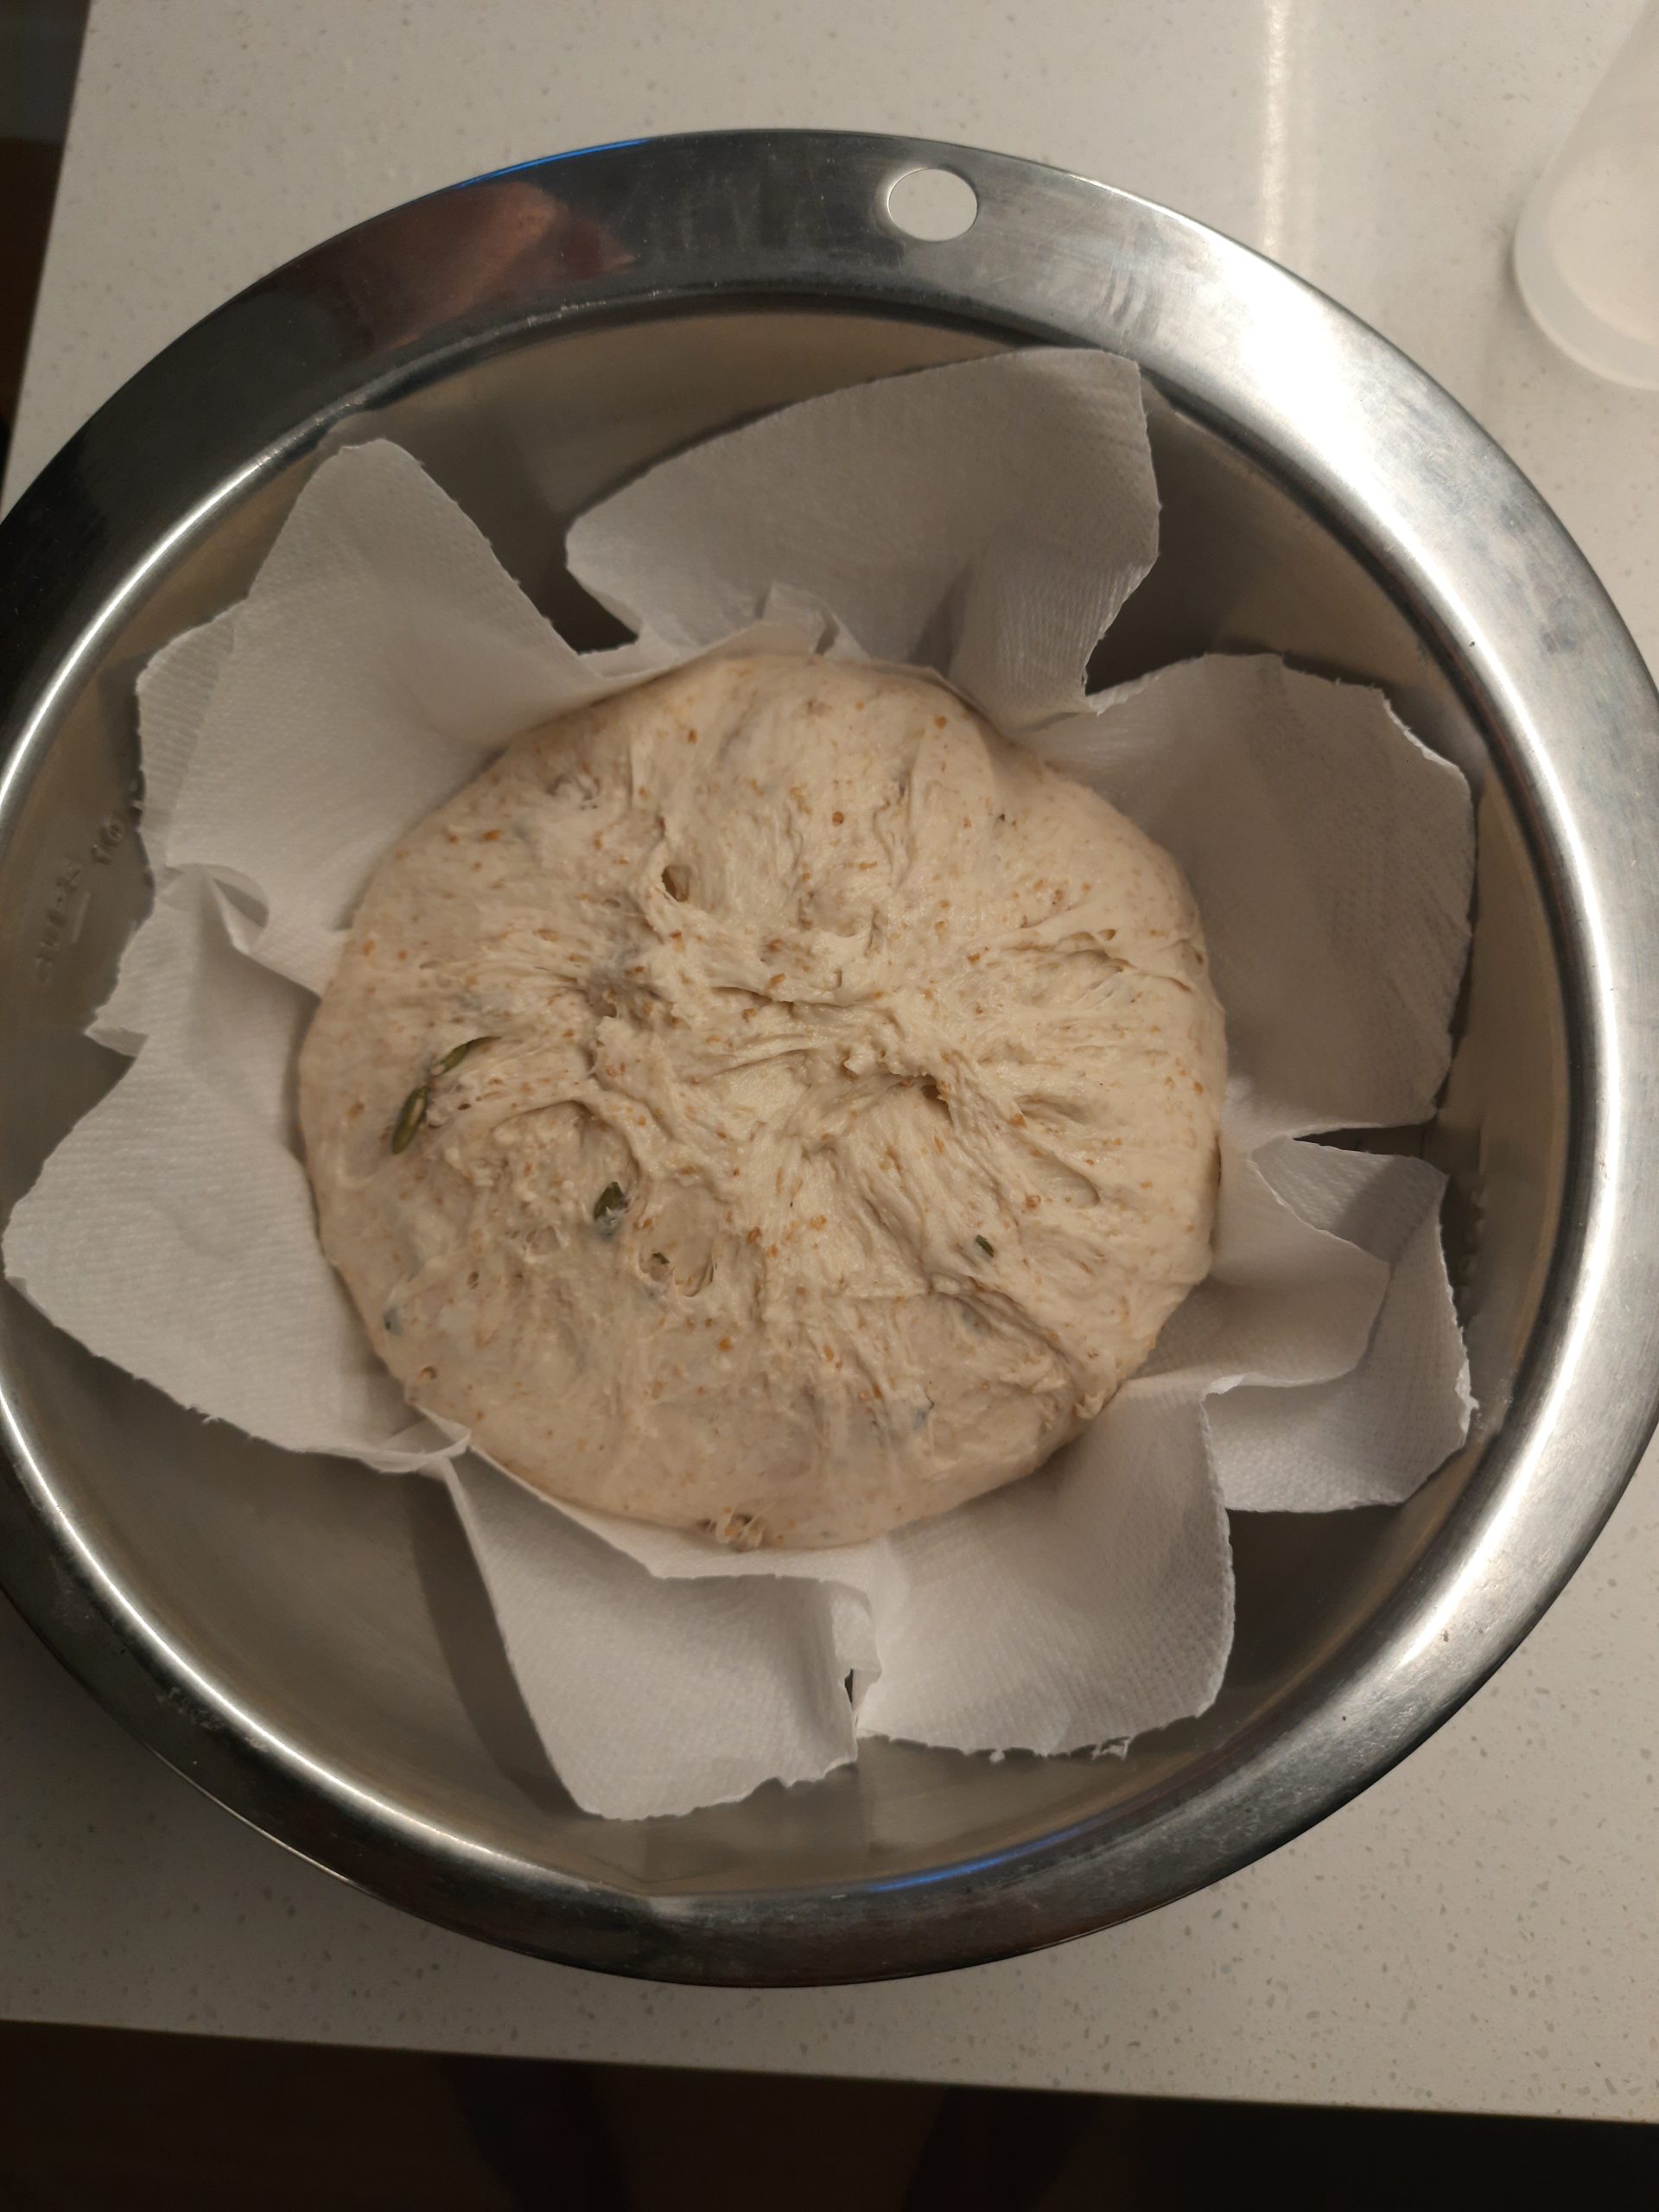
A proofing basket is used to keep the bread shaped during a long fermentation process, but not used for baking. If you don’t have a proper proofing basket you can use any type of bowl or colander as you will turn over the bread dough onto your baking tray and remove the basket, so it’s not a problem if it’s in plastic.
I recommend laying the proofing basket with 2 paper napkins (or a kitchen towel) lightly dusted with flour.
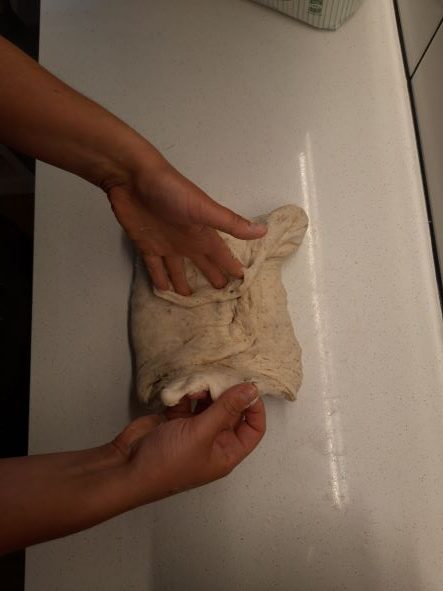
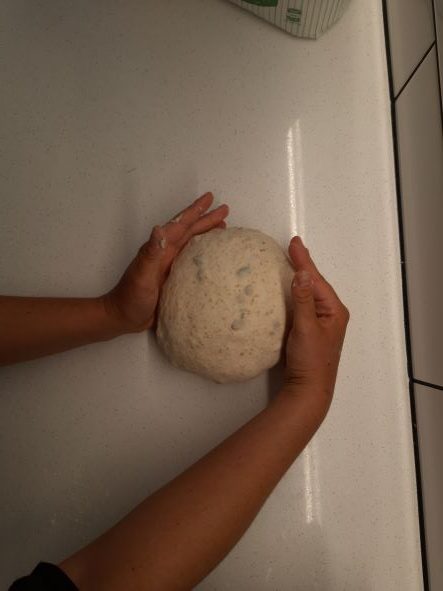
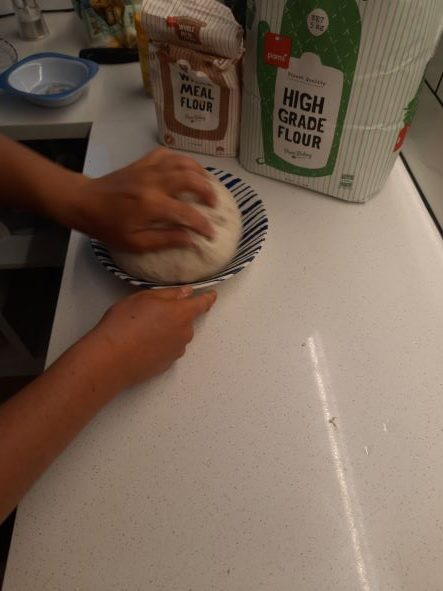
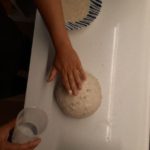
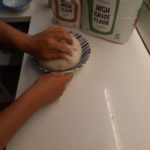
For shaping on a lightly dusted bench, flatten your ball into disc shape (pop the big bubbles), then expand/fold 4 times, bring the corners together, then turn it over and make a nice ball for round shaped proofing basket (or roll it for oval shaped proofing basket), remember that you put the future top of your bread into the bottom of the proofing basket (as it will be turned over into the oven)


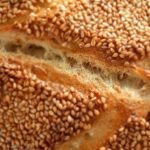
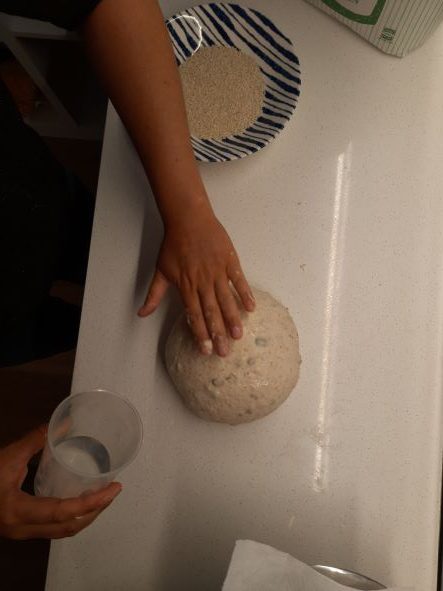
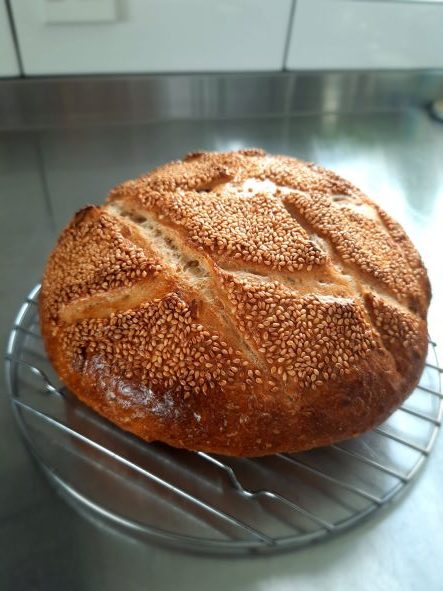
Option crusty crust : if you want to have a nice crusty bread, you can dip it into a plate full of flour before placing it into the proofing basket. If you want to decorate with seeds, spray the top of your ball with water and dip it into a plate with sesame/sunflower/poppy seeds/etc., then turn it over into your proofing basket (flour/seedy side in the bottom of the proofing basket)
B. Shape your bread into a tin mould (rectangle metallic cake mould)
For a denser square bread ideal for sandwiches, also maybe easier to get a nice result when you begin.
On a lightly dusted bench, flatten your ball into oval shape (pop the big bubbles if you see some), then fold it 3 times and roll it (you want to get a result as long as your mold), place it into the mold (you can lightly spay your mold with oil or line it with baking paper)
C. Leave it as it is and go to step 6
this choice is if you want to shape it just before baking : ideal for baguettes shaping or when you want to experience funny shaped bread
5. Leave it relax
Cover your proofing basket or metallic mould and leave the dough relax into the new shape for about 30min at room temperature
6. Slow fermentation in the fridge
Put it in the fridge for 12 to 20h at this stage the fermentation will keep going very slowly so a few hours more or less are not changing much the final result, but we want to give it some time for a more healthy and digestible bread. It gives you some flexibility to do the baking whenever you have the time in your day 😉
7. Bring the dough back to room temperature
About 1h before baking, take the dough out of the fridge and leave it come back close to room temperature (still covered)
8. Bake
A. if you have chosen the proofing basket option
Preheat the oven at 230°C with a metallic tray inside (with fan for softer crust or without fan for crunchy crust)
Once it’s at temperature, turn over your proofing basket on another tray with baking paper (anything flat and big enough for your bread), then score your bread with a very sharp knife or blade. I’ll let you experiment on this one, here are some examples.
Open the oven door and quickly slide your bread over the hot tray + throw 1 glass of water in a tray in the bottom of your oven and close the door quickly. Breathe. Bake for about 45-50min, if it becomes too black you can put baking paper on top at the end of the baking. Never open the door during the 25 first minutes.
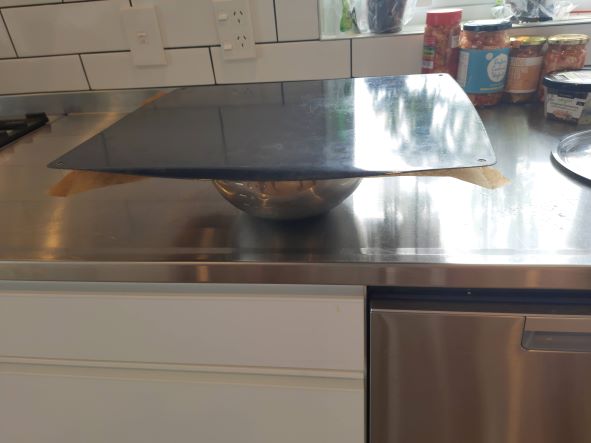
turn over your bowl on one tray with baking paper 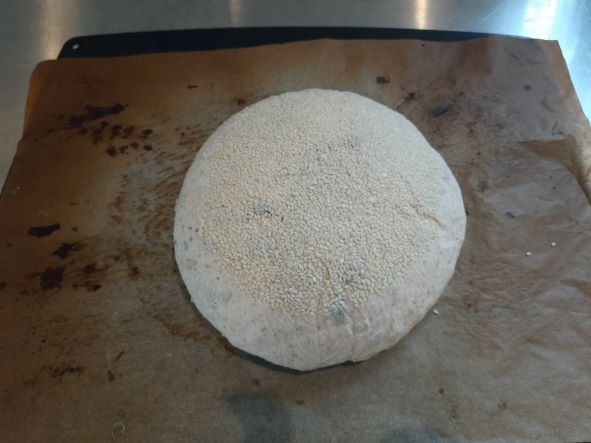
remove paper towels 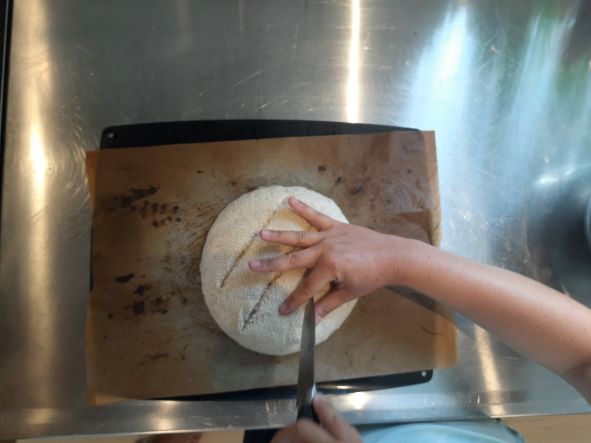
score the bread at your convenience 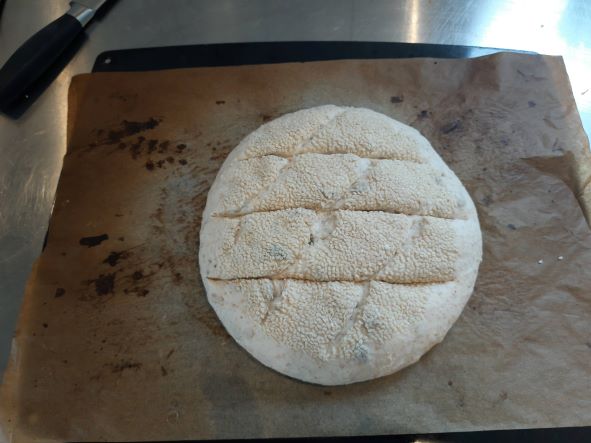
better result if you use a sharper blade, I took what I had 😉 
slide it onto the hot tray inside the oven 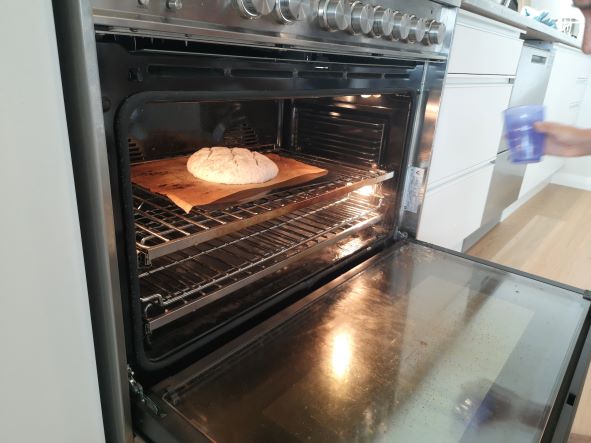
don’t forget the water !
If you have a dutch oven you can also bake your bread into it. You need to preheat it for about 30min in your oven and gently transfer your dough into it (you can use a long baking paper). Close the lid and place it into the oven. You are using the humidity of the bread to help it rise beautifully. Bake about 25min in the closed Dutch oven, then open the lid and finish the baking for at least 20 more minutes.
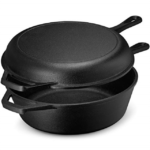
A simpler way is to use two cast iron fry pans of the same diameter, one flat and one deep, placing the bread into the flat pan and using the deep pan as a lid.
B. if you have chosen the tin mould option
Preheat the oven at 180°C (fan). You can score it or not, choice of the baker!
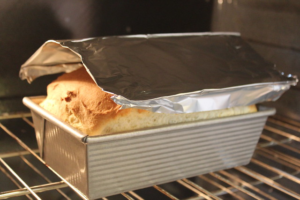
my advice : put another tin mould on top or a large piece of foil but leave enough space above for the bread to proof (like on the photo but closed around the edges of the tin), the goal is to use the humidity of the bread to help it rise nicely. Place it in the oven for 25min, then remove the top tin or the foil and bake for another 25 min.
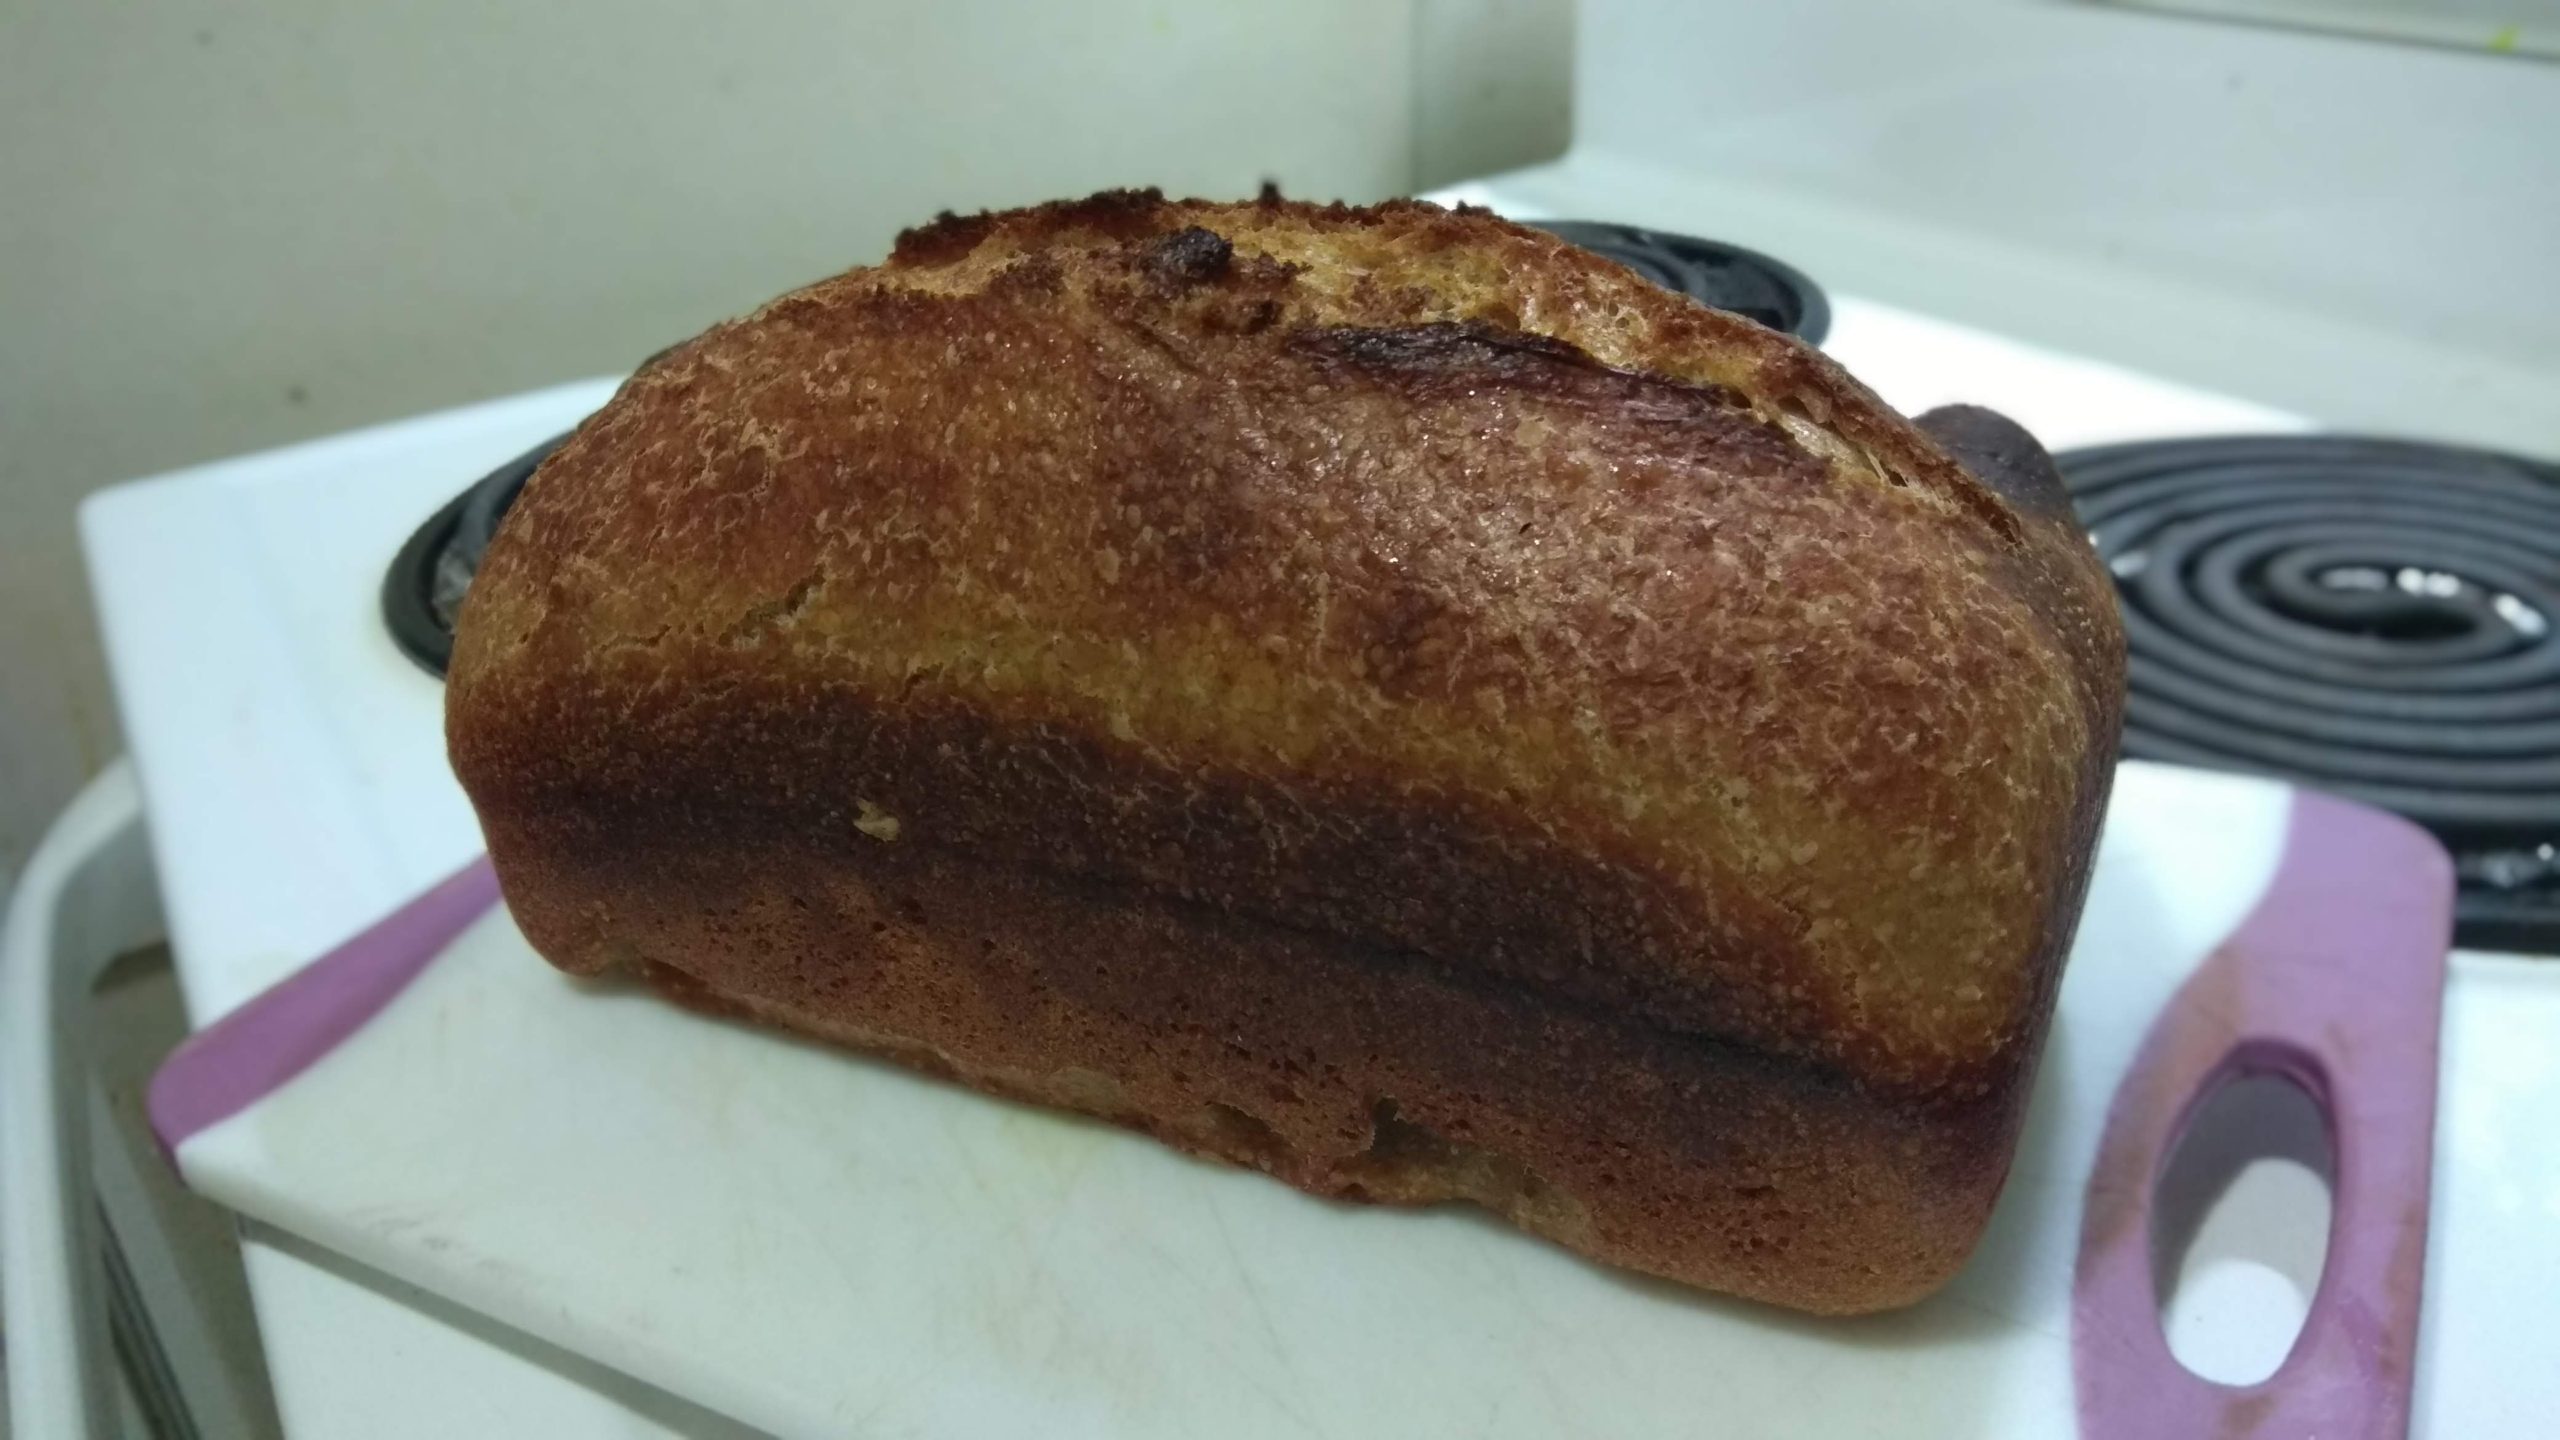
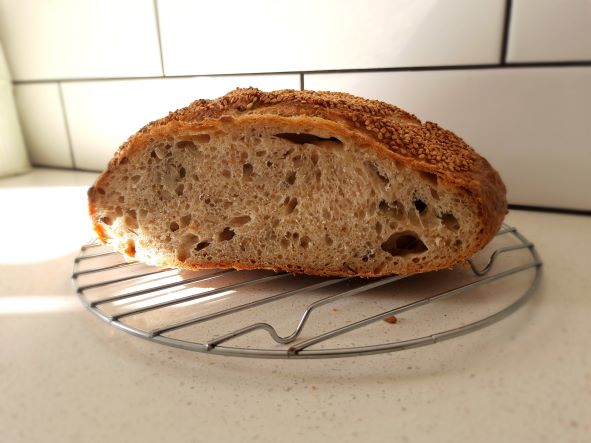
Remove the bread from the tin as soon as you take it out of the oven and leave it to cool down on a rack. It’s well cooked if it sound ’empty’ when you knock the bottom. if not, place it back in the oven without the tin for a bit longer.
C. if you have chosen the ‘free shape’ option
Preheat the oven at 250°C with a metallic tray inside the oven.
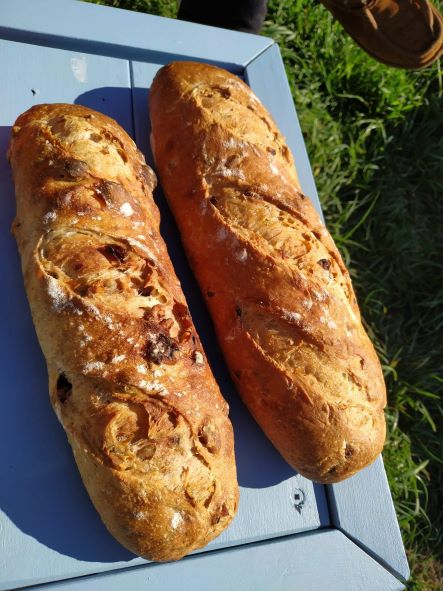
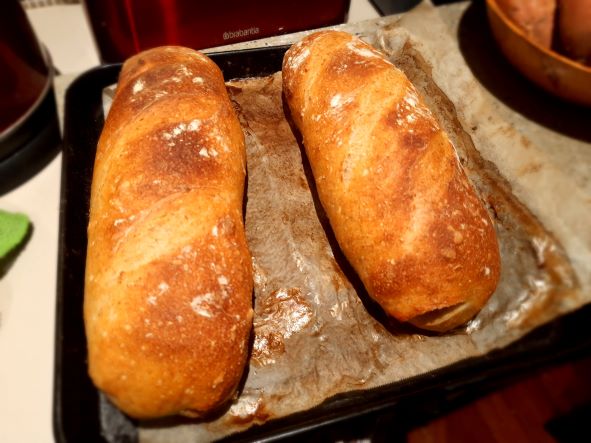
It’s time to shape! on a dusted bench, flatten your dough in an oval form, then fold it 4 times, flatten again, roll it until you have a nice regular baguette shape 😉 or any other shape of your choice! Transfer your bread on a baking sheet on a tray, score it with a sharp knife then open the oven, slide your bread onto the hot tray, throw a glass of water in the bottom of the oven and close the door quickly. bake for about 25-40min, depending on the size of your bread (25 min for a baguette type shape, long and thin)
Conclusion
I know my easy method may not seem so easy, it’s easy because there is no kneading, and I have simplified some processes but it’s still quite complex to know when to start to have your bread ready for a certain time…basically you need to start about 24h before your desired baking time.
Here is my timeline 😉
1 day before the bake day, around 8am I feed the starter, around 4pm I mix the ingredients, around 7-8pm I shape and put the bread in the fridge, the next morning around 8am I do the baking. It may feel like you need to organise your day around your bread making steps and it actually is the case but once you find your timeline you still get to enjoy your day in between all the steps.
Good luck and good baking !
Le pain au levain n’est pas vraiment difficile mais il demande beaucoup d’anticipation. C’est la seule chose à laquelle vous devez vous habituer… la première étape a lieu environ 24h avant la cuisson ! Etes-vous prêt à connaître tous mes secrets ? ??
Il existe de nombreuses façons de faire du pain au levain et des milliers de posts et de vidéos sur internet. Il s’agit d’une technique facile que j’ai développée grâce à mes connaissances acquises en travaillant dans une boulangerie de pains au levain pendant un an et que ma paresse m’a obligé à simplifier pour que je puisse continuer à faire mon pain quelles que soient les circonstances dans lesquelles je me trouve.
Par exemple, j’ai cuit du pain au levain sans outils de mesure, avec de l’eau de mer, et en négociant avec le soleil pour utiliser le four à énergie solaire….).
Je considère que vous avez déjà un levain. Si ce n’est pas le cas, vous pouvez en obtenir auprès d’un ami, d’une boulangerie au levain ou même faire votre propre levain en 4 jours avec seulement de l’eau et de la farine comme expliqué dans ce post.
Je recommande d’utiliser de la farine blanche “bread flour” ou “high grade flour” en Nouvelle-Zélande, “T65” en France. L’utilisation de farine biologique de haute qualité peut changer considérablement le résultat ! Vous pouvez évidemment expérimenter avec de nombreux types de farine (seigle, épeautre, sarrasin, riz …), ceci est ma recette de base.
- Nourrir le levain
- Mélanger les ingrédients
- Plier et commencer la fermentation
- Choisissez votre option de façonnage
- Laissez-la se détendre
- Fermentation lente dans le réfrigérateur
- Ramener la pâte à température ambiante
- Cuisson au four
- Conclusion
1. Nourrir le levain 6 à 12 h avant utilisation
Pour faire du pain ou tout autre produit à base de levain, il faut un levain actif !
Vous devez commencer avec environ 50 g de levain et le nourrir avec 75 g d’eau + 75 g de farine (moitié blanche, moitié complète). C’est approximatif mais gardez à l’esprit que vous n’avez pas besoin de faire un énorme levain à moins que vous ne prévoyez de faire plus qu’un pain.
Une fois que vous avez nourri le levain, laissez-le à température ambiante pendant environ 6 à 10 heures, jusqu’à ce qu’il ait doublé de volume et qu’il fasse des bubulles (plus votre maison est chaude, plus ca ira vite).
2. Mélanger les ingrédients
- 150g de levain actif
- 330g d’eau à 25°C environ (quantité à ajuster)
- 450g de farine blanche
- 50g de farine complète
- 10g de sel
Vous pouvez ajouter des graines, des fruits secs, des épices, des herbes à votre convenance.
Il se peut que vous deviez ajouter un peu plus d’eau pour obtenir une consistance humide et collante, mais pas trop liquide (cela varie toujours, en fonction du type de farine, de l’humidité, de la température, etc.)
En général, je mélange l’eau + le starter, puis j’ajoute le reste et je mélange avec une spatule en bois car c’est très collant ! (mélanger jusqu’à ce qu’il n’y ait plus de farine sèche visible)
Lorsque vous obtenez ce type de texture, couvrez votre bol avec un couvercle, un film plastique ou bee wrap et laissez-le reposer à température ambiante pendant environ 30 minutes.
3. Plier et commencer la fermentation à température ambiante
Pour donner un peu de texture à la pâte, je vous recommande de la plier avec des mains humides. Sur un plan de travail légèrement fariné, ou directement dans le bol, essayez de l’étendre et de la plier 4 fois, puis arrangez-la en une belle boule et remettez-la dans le bol (partie pliée en dessous, partie ronde et lisse visible).
Couvrez et laissez le à température ambiante pendant environ 4h. Moins s’il fait très chaud, plus s’il fait froid 😉 La pâte va se dilater et vous pouvez voir quelques bulles apparaître également.
4. Choisissez votre option de façonnage
A. Façonnez votre pain en banneton
idéal pour les formes rondes (boule) ou ovales (bâtard), pour un résultat très croustillant et aéré avec de beaux trous dans vos tranches de pain.
Un banneton est une corbeille utilisée pour maintenir le pain en forme pendant un long processus de fermentation, mais pas pour la cuisson. Si vous n’avez pas de banneton, vous pouvez utiliser n’importe quel type de bol ou de passoire, car vous allez retourner le pain sur votre plaque de cuisson puis retirer le banneton, ce n’est donc pas un problème s’il est en plastique.
Je recommande de recouvrir le fond du banneton avec 2 feuilles de sopalin (ou un torchon de cuisine) légèrement saupoudré de farine.
Pour le façonnage sur un plan de travail légèrement fariné, aplatissez légèrement votre boule en forme de disque (éclatez les grosses bulles si vous en voyez), puis étirer et replier la pâte 4 fois, rapprochez les coins, puis retournez-la et faites une belle boule pour un banneton rond (ou roulez-la pour un banneton ovale). N’oubliez pas que vous mettez le futur dessus de votre pain dans le fond du banneton (car il sera retourné au moment d’enfourner).
Option croûte : si vous voulez avoir un bon pain croustillant, vous pouvez le “tremper” dans une assiette pleine de farine avant de le placer dans le banneton. Si vous voulez décorer avec des graines, vaporiser le dessus de votre boule avec de l’eau et plongez-la dans une assiette avec des graines de sésame/graines de tournesol/pavot etc., puis placez-le dans votre proofing basket (côté farine/graines dans le fond du banneton).
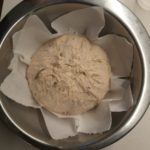
n’ayant pas de banneton, j’utilise un bol metallique
B. Façonnez votre pain dans un moule à cake rectangulaire
Pour un pain rectangle plus dense, idéal pour les sandwichs. Plus facile d’obtenir un beau résultat lorsque vous débutez.
Sur un plan de travail légèrement fariné, aplatissez votre boule en forme d’ovale (faites éclater les grosses bulles si vous en voyez), puis pliez-la 3 fois et roulez-la (vous voulez obtenir un résultat aussi long que votre moule), placez-la dans le moule (vous pouvez légèrement enduire votre moule d’huile ou utiliser du papier cuisson).
C. Laissez la pâte telle quelle et façonner plus tard. Passez à l’étape 6
Ce choix permet de façonner le pain juste avant de le cuire : idéal pour façonner des baguettes ou lorsque vous voulez expérimenter des pains aux formes étranges.
5. Laissez-la se détendre
Couvrez votre moule ou le banneton et laissez la pâte épouser sa nouvelle forme pendant environ 30 minutes à température ambiante.
6. Fermentation lente dans le réfrigérateur
Mettez-le au réfrigérateur pendant 12 à 20 heures, à ce stade la fermentation va se poursuivre très lentement, donc quelques heures de plus ou de moins ne changent pas grand-chose au résultat final, mais nous voulons lui donner un peu de temps pour un pain plus sain et digeste. Cela vous donne une certaine flexibilité pour faire la cuisson quand vous avez le temps dans votre journée ;). Plus vous laissez longtemps, plus le pain aura un goût fermenté prononcé (légèrement acide).
7. Ramener la pâte à température ambiante
Environ 1 heure avant la cuisson, sortez la pâte du réfrigérateur et laissez-la revenir à température ambiante (toujours couverte).
8. Cuisson au four
A. si vous avez choisi l’option Banneton
Préchauffez le four à 230°C avec une plaque métallique à l’intérieur (avec ventilateur pour une croûte plus molle ou sans ventilateur pour une croûte croustillante).
Une fois à température, retournez votre proofing basket sur une autre plaque/planche à découper avec du papier sulfurisé (tout ce qui est plat et assez grand pour votre pain), puis marquez votre pain avec un couteau ou une lame très aiguisée. Je vous laisse expérimenter sur ce point, voici quelques exemples.
Ouvrez la porte du four et faites glisser rapidement votre pain sur la plaque chaude + jetez 1 verre d’eau dans le fond de votre four et fermez rapidement la porte. Respirez. Faites cuire pendant environ 45-50min, si le pain devient trop noir vous pouvez mettre du papier sulfurisé sur le dessus à la fin de la cuisson. N’ouvrez jamais la porte pendant les 25 premières minutes.
Inciser le pain à votre convenance – Puis , n’oubliez pas l’eau !
tournez votre banneton sur un plateau avec du papier sulfurisé retirez le sopalin Inciser le pain comme vous le souhaitez meilleur résultat si vous utilisez une lame plus tranchante (lame de rasoir) j’ai pris ce que j’avais 😉 faites-le glisser sur la plaque chaude dans le four n’oubliez pas l’eau !
Si vous avez une cocotte en fonte, vous pouvez aussi y faire cuire votre pain. Vous devez la préchauffer pendant environ 30 minutes dans votre four et y transférer délicatement votre pain (vous pouvez utiliser un long papier sulfurisé). Fermez le couvercle et mettez-le dans le four. Avec cette méthode, l’humidité du pain permet une poussée magnifique de votre pain sans effort. Faites cuire environ 25 minutes dans la cocotte fermée, puis ouvrez le couvercle et terminez la cuisson pendant 20 minutes ou plus.
Une façon plus simple est d’utiliser deux poêles à frire en fonte du même diamètre, une plate et une profonde, en plaçant le pain dans la poêle plate et en utilisant la poêle profonde comme couvercle.
B. si vous avez choisi l’option moule à cake
Préchauffez le four à 180°C (chaleur tournante). Vous pouvez l’inciser ou non, choix du boulanger !
mon conseil : mettez un autre moule à cake sur le dessus ou une grande feuille d’aluminium mais laissez suffisamment d’espace au-dessus pour que le pain puisse lever (comme sur la photo mais en fermant les bords du moule), le but est d’utiliser l’humidité du pain pour qu’il lève bien. Mettez-le dans le four pour 25 min de cuisson, puis retirez le moule supérieur ou le papier d’aluminium et faites-le cuire encore 25 min.
Retirez le pain du moule dès que vous le sortez du four et laissez-le refroidir sur une grille. Il est assez cuit quand il sonne creu. Si non continuez la cuisson sans le moule.
C. si vous avez choisi l’option “free shape” (forme libre)
Préchauffez le four à 250°C avec une plaque métallique à l’intérieur du four.
Il est temps de façonner ! sur un plan de travail fariné, aplatissez votre pâte en une forme ovale, puis pliez-la 4 fois, aplatissez-la à nouveau, roulez-la jusqu’à obtenir une belle forme de baguette régulière 😉 ou toute autre forme de votre choix ! Transférez votre pain sur une plaque de cuisson sur un plateau, entaillez-le avec un couteau aiguisé puis ouvrez le four, glissez votre pain sur le plateau chaud, jetez un verre d’eau dans le bas du four et refermez la porte rapidement. faites cuire pendant environ 25-40 min, selon la taille de votre pain (25 min pour une forme type baguette, longue et fine)
Conclusion
Je sais que ma méthode facile peut ne pas sembler si facile, elle est facile car il n’y a pas de pétrissage, et j’ai simplifié certains processus mais il reste assez complexe de savoir quand commencer pour que votre pain soit prêt pour une certaine heure…en gros il faut commencer environ 24h avant le temps de cuisson souhaité.
Voici ma chronologie 😉
1 jour avant le jour de cuisson, vers 8h je nourris le levain, vers 16h je mélange les ingrédients, vers 19h-8h je façonne et mets le pain au frigo, le lendemain matin vers 8h je fais la cuisson. Vous pouvez avoir l’impression que vous devez organiser votre journée en fonction des étapes de la fabrication du pain, et c’est effectivement le cas, mais une fois que vous avez trouvé votre routine, vous pouvez toujours profiter de votre journée entre toutes les étapes.
Bonne chance et bonne boulangerie !


Pingback: Raising a Starta - Élever un levain - Eva Hut
Pingback: My kitchen philosophy - Mon éthique de cuisine - Eva Hut